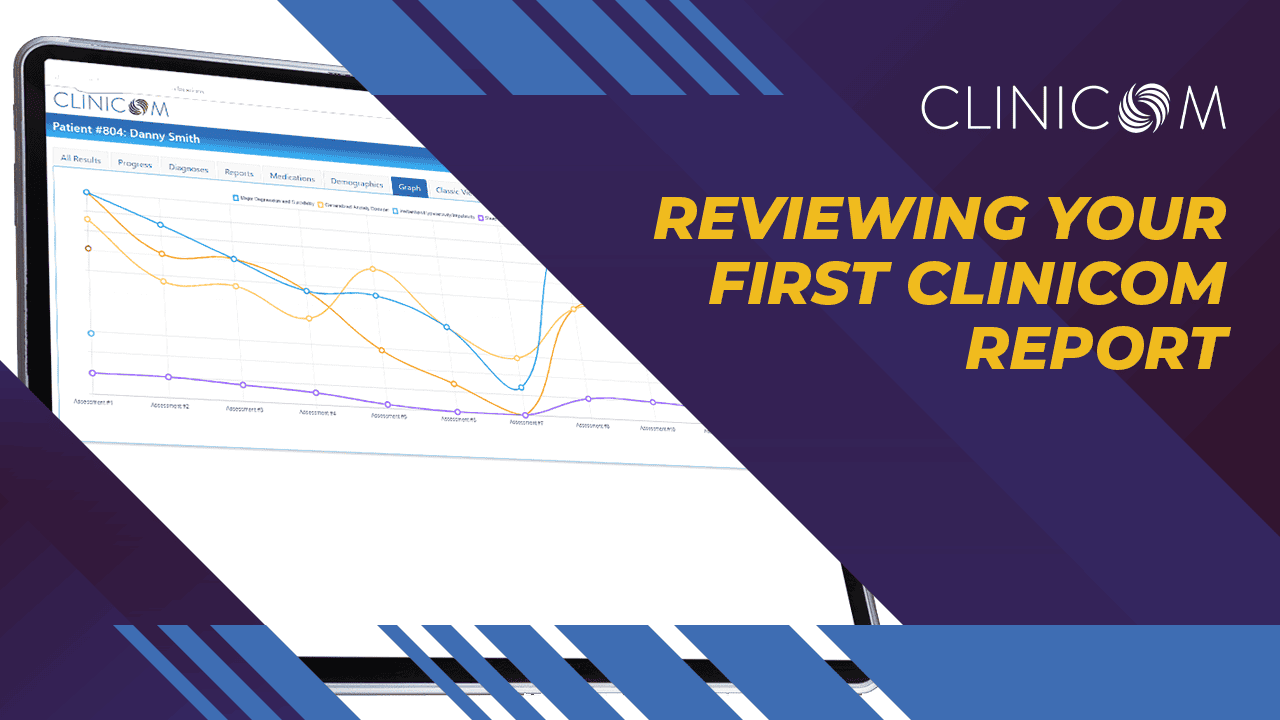
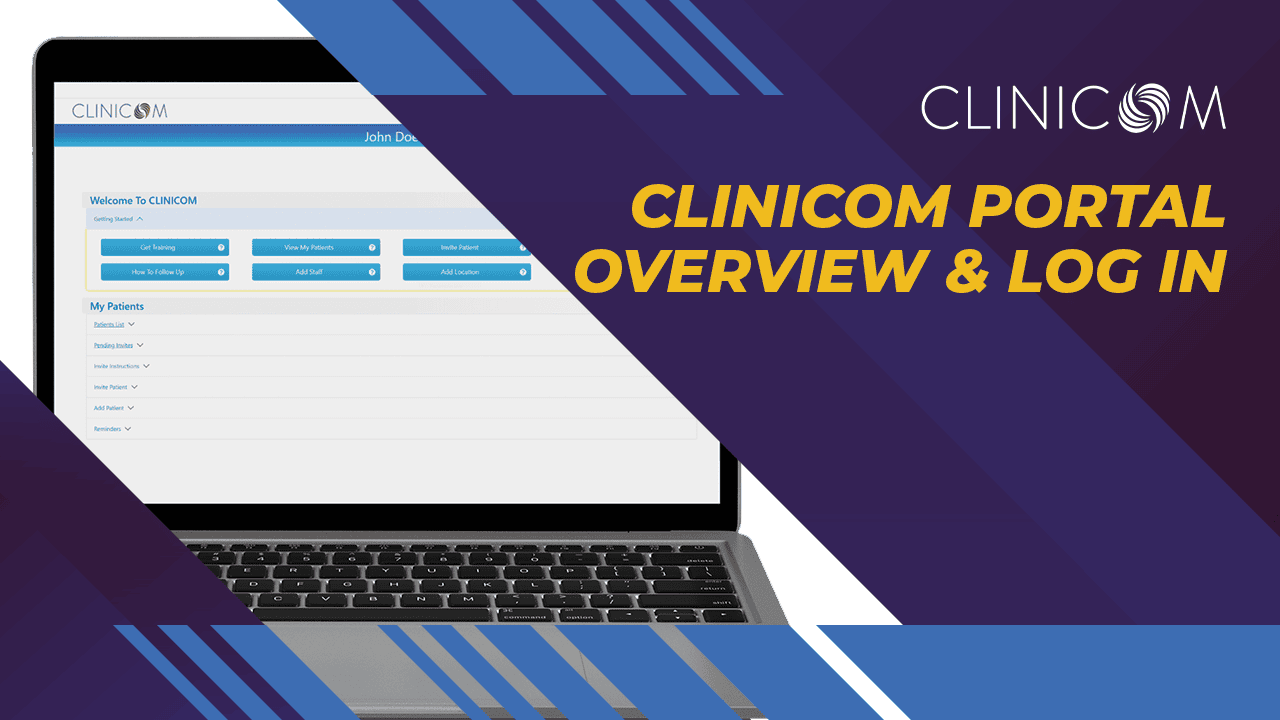
Clinicom Portal Overview & Log In
Login and Portal Overview
In this section we are covering the main overview of functions of Clinicom.
Clinicom is accessed via any Internet capable device at clinicom.com. Both Clinicians and Patients will use this URL to login. CLINICOM.COM. Please save this site to your favorites or desk top for ease of use and also please save your password for login somewhere on your computer or device.
Once logged in, there are several different sections available for use.
At the very top navigation section we have these links:
MY CLINIC
This is the default screen after login and where most of the activity happens.
It opens with a quick reference panel of buttons labeled “Getting Started”
This includes Get Training, which will link to this site and other videos.
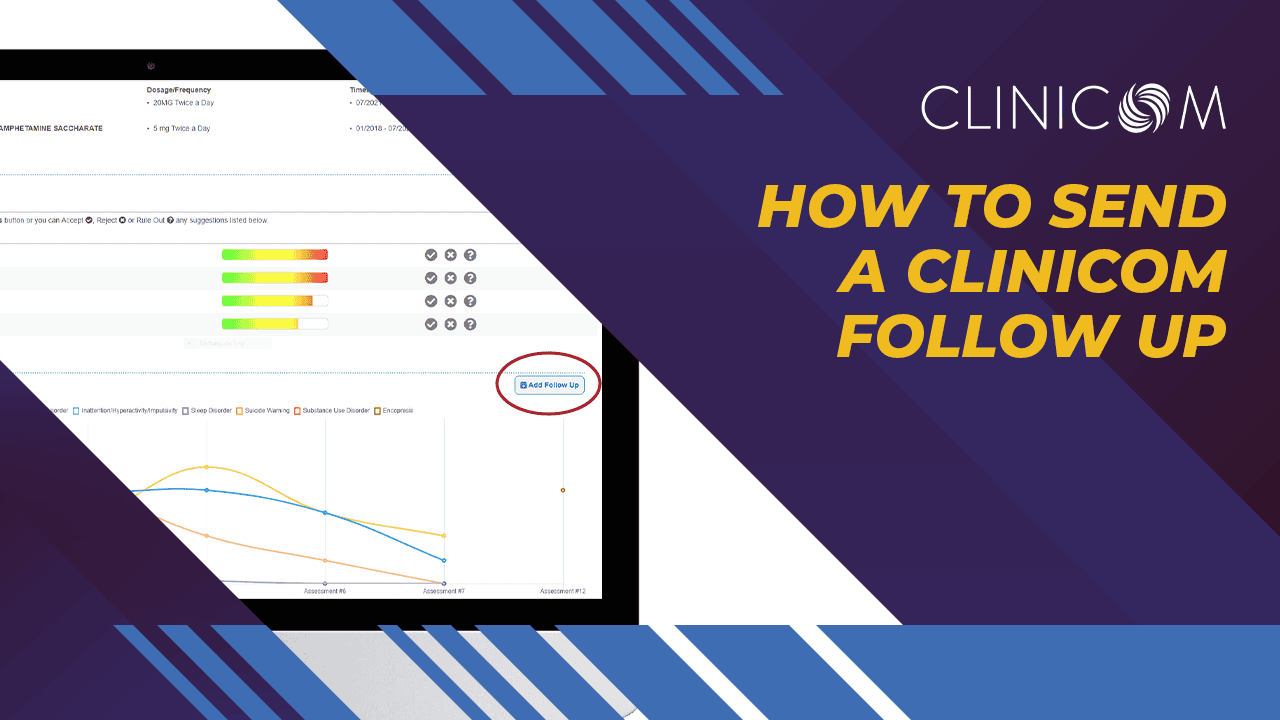
Under that you see a button with a quick tutorial on How To Follow Up with a patient. This is made available with one click for ease of viewing quickly.
The next button is VIEW MY PATIENTS which brings up all the patients in the system and access to their assessment reports when applicable.
Next is the ADD STAFF button which allows you to add additional team members and clinicians to the system. They get started with just their email address so they can register for a login. You can also resend out the staff invites if any staff members losses their invite. .
The ADD LOCATION button gives the ability to add additional clinical locations or branches into the system. It is important to note that added locations will only be able to see their segregated patients list. So if you wish for multiple sites to have access to see multiple pools of patients it would be better to add users and not locations. If you want to have segregated patient list for different physical locations the ADD a Location feature is perfect for this function. Just remember that each new location will not be able to see the other locations patient lists.
The INVITE PATIENT button is among the most frequently clicked buttons in the system. We will cover how to send out the patient invites for future visits and how to send out invitations to third-party recipients as well.
Finally, a quick button to get a refresher of HOW TO VIEW RESULTS brings up a quick tutorial video that gives you an overview of reviewing the report, which we will cover in great detail in this course.
PATIENTS
This is where you will access all of your patients that have been added into the system and be able to click right into their available assessments or see how far along they are with an assessment in progress. You can see how far along a patient is on a particular assessment and search for patients with their Name, Date of Birth, and assessment ID in the search field We will go over this in detail later.
LOG OUT
Self explanatory, this is a logout feature for security reasons. We will go over some of the safety and security measures built into Clinicom as we progress through the course.